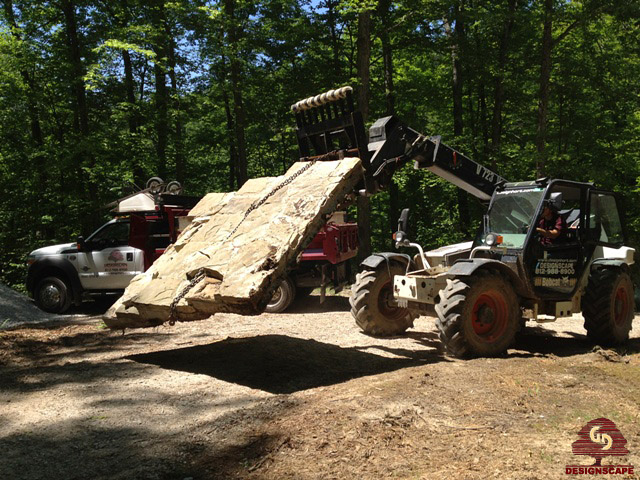
The right equipment and meticulous base preparation make this job not only aestically pleasing but sustainable. Lesson 1 on hardscaping… NEVER CUT CORNERS IN YOUR BASE PREP! This gallery give descriptions of the installation and shows a start to finish installation of Shoals Co. Sandstone Steps.
-
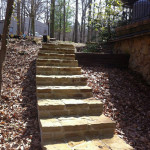
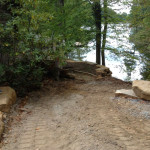
- These original steps although not old were not properly installed. Poor choice of soft stone caused flaking even within the first year. Base was not deep enough and inadequate concrete forming. Poor drainage.
-
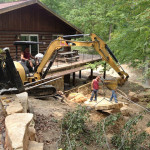
- With the proper equipment the old steps came out much easier than they should have. Again this shows poor base preparation.
-
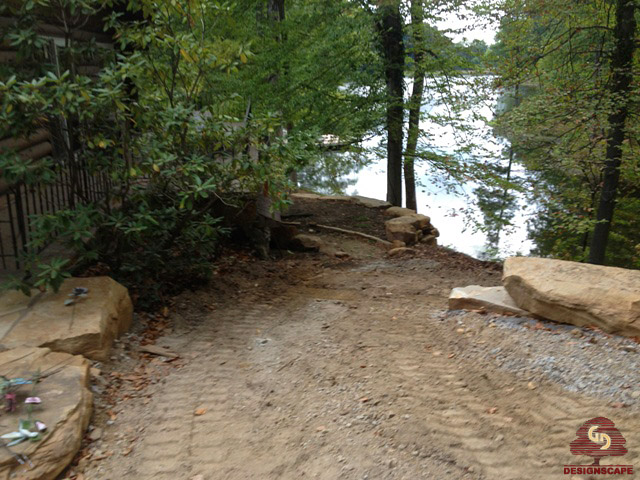
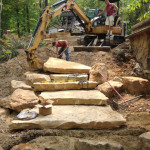
- With the steps gone its time to start at the bottom and dig our way up.
-
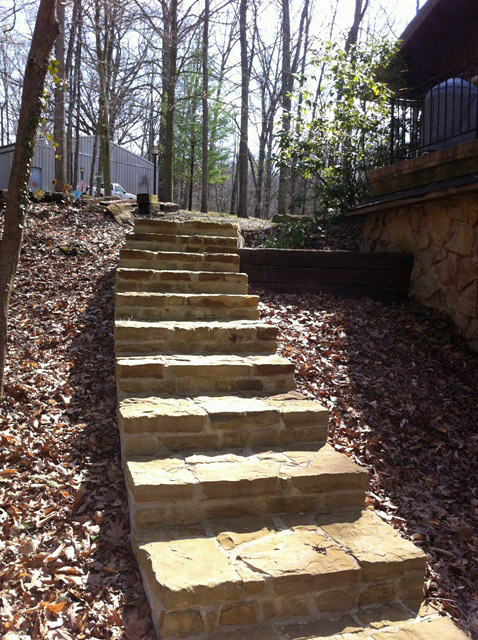
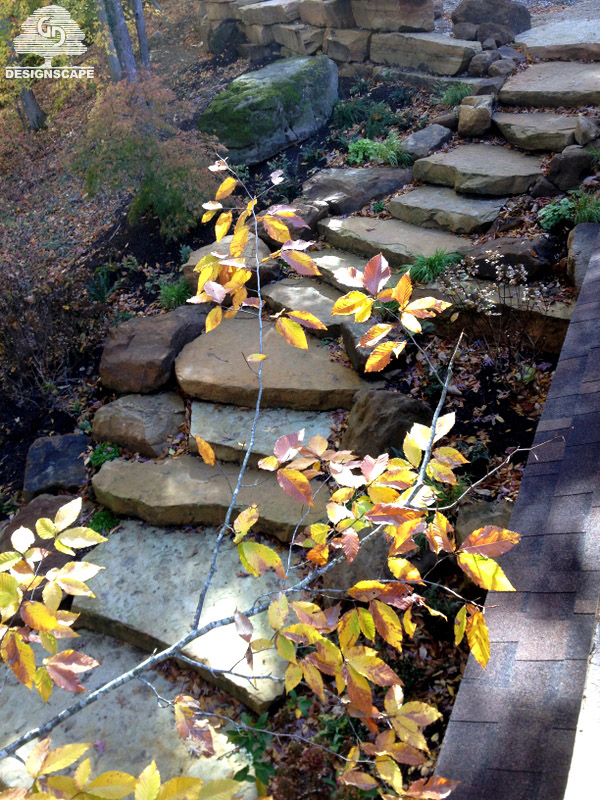
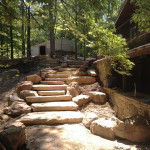
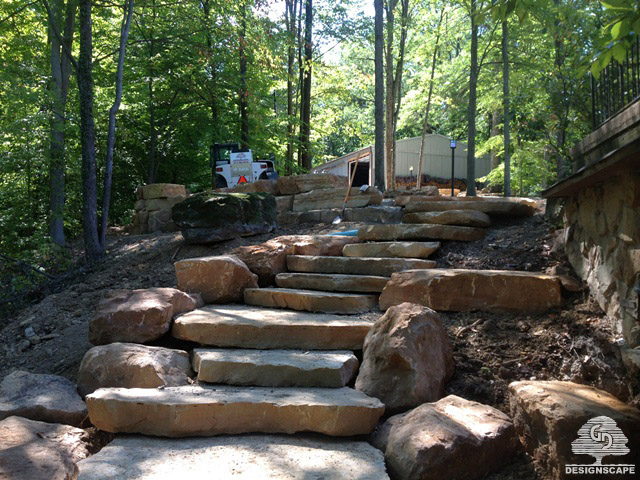
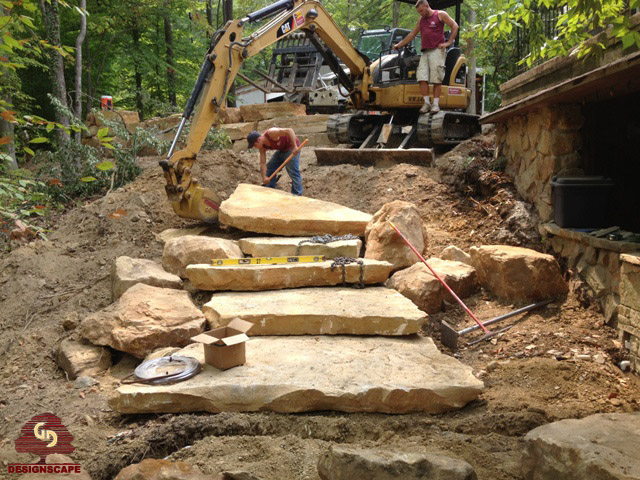
- This overhead shot highlight the larger landing pieces used to help break up the pattern allowing for natural breaks while traversing.
-
- Only thing left is to tuck a few smaller boulders in and clean up.
-
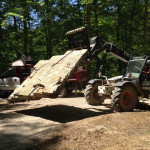
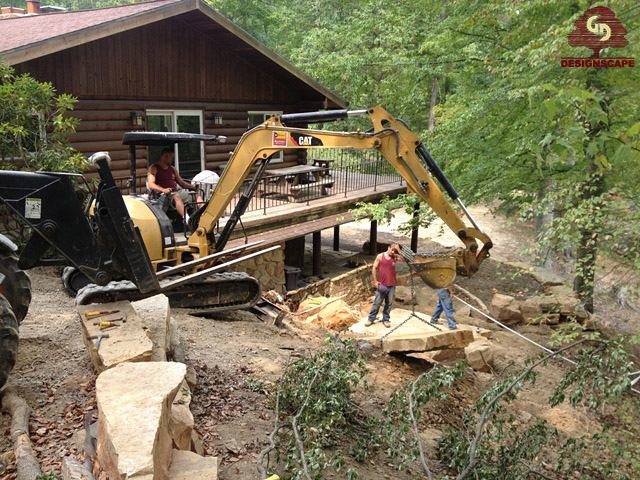
- Using the mini-ex to set each piece.
-
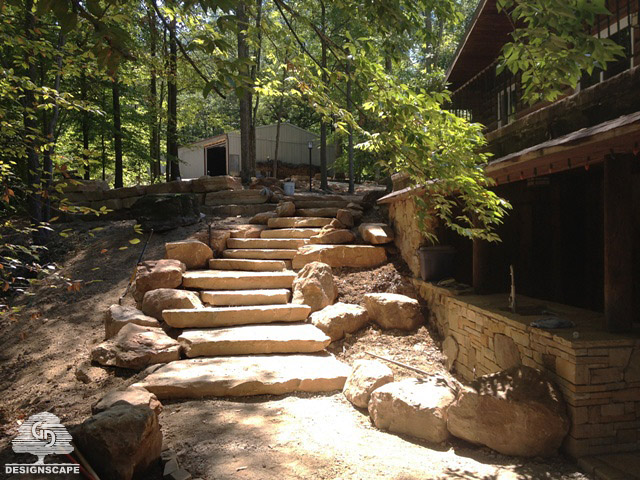
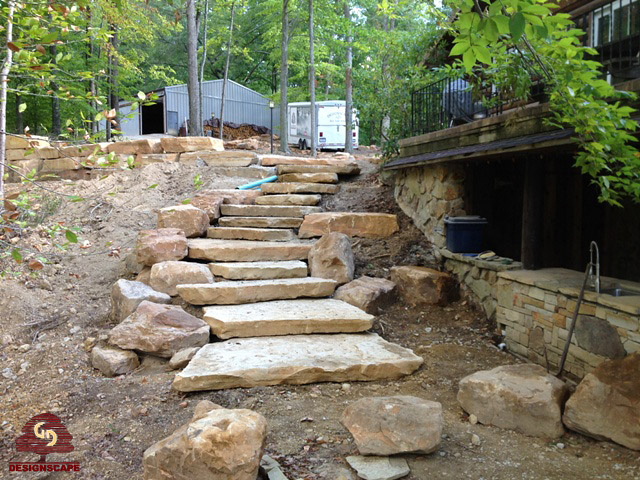
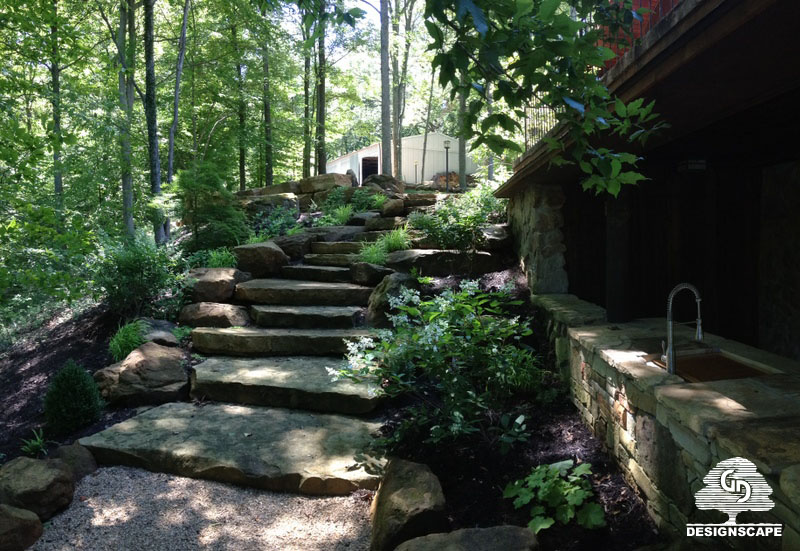
- Wrapping boulders around the steps to serve as edge restraint. Allows for comfort while traversing the steps without the need for railings.
-
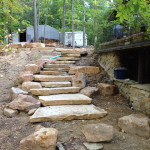
- Day three…getting closer!
-
- Adjusting the base after each stone to make sure the natural stone lays perfectly level.
-
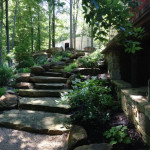
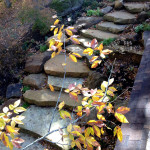
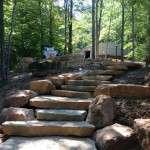
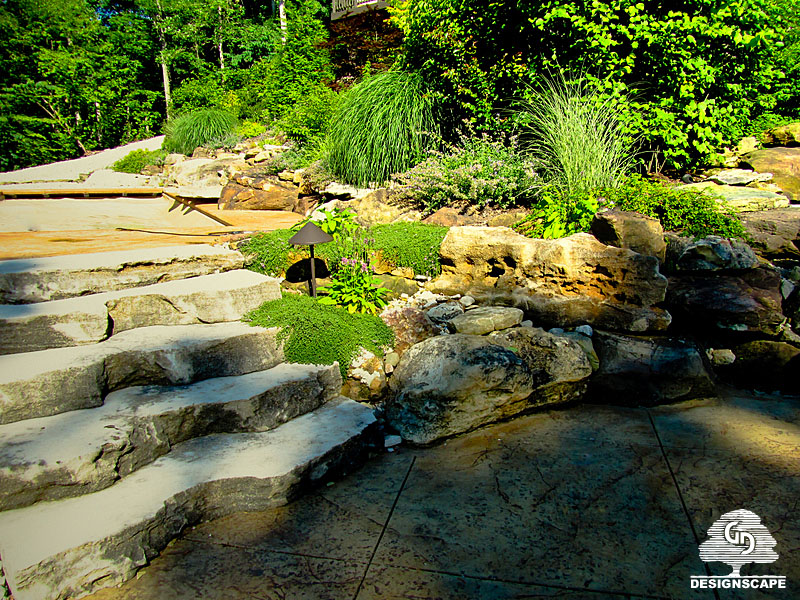
- With the planting installed this project is completed.
Leave A Comment